Tuesday, November 3, 2015

2015: How it Went (Halloween)

Ciel and Undertaker on Halloween!

Hello!
So, this isn't really a Halloween blog any more, but I figured I'd keep going with the Halloween reviews, because Halloween's great, so why not?


Recognition: 4/10

During the trick-or-treating, nobody knew who I was supposed to be, and I got one guess that was a joke. So, I was feeling like it was a not-very-good-year-for-recognition. Then, I went home and passed out candy, and five people recognized me, one of which was a big fan. Cool!

Strength: 9/10

Very good, just two things, the boot ribbon started to come undone, and the ribbon on the cane kept coming undone. Ribbons! Ahhhhh!

Comfort: 7/10

I was much warmer this year than I've been the previous years, so that was nice. But, the boots were very uncomfortable, and the pants kept riding down, while the shirt kept riding up, so I constantly had to adjust everything.

Candy Rating: 7/10
Well, I  gave away most of it, but what I kept I liked! (hint: almost everything I kept has chocolate in it)

I liked this Halloween. I've never given out candy before, and I found it was very fun. There was just one thing that annoyed me, and that was that there were more people who weren't wearing costumes than people who were, and that just baffles me. What's the point of Halloween if you don't dress up?!

Anyway...
Happy Halloween!

Monday, June 15, 2015

2015 How It Went: AnimeNext

Madame Red (my mom), Ciel (me), and The Undertaker (my brother) :D

Hello! I had a lot of fun at AnimeNext, it was by far the best in the "social" aspect of conventions. Well, since there's not much to say, let's get to the review!

Recognition: 10/10

I am REALLY happy about this. We were getting stopped about every two minutes to have our picture taken, and we spotted many other Black Butler cosplayers as well. It was super fun taking pictures with them all, and it was also fun looking for Sebastians to complete our Madame Red, Undertaker, and Ciel. I hope next year I can choose a cosplay that will also lead to such interesting interactions.

Strength: 7/10

Aside from a few buttons coming loose (my bad sewing job), the ribbon on one of my boots coming undone (I'll fix it for Halloween), and the pants sort of ripping at the crotch after a while (the result of stiff fabric and not building in room for crouching), nothing broke at all, and in general it held up to the stress of walking around for a long time.

Comfort: 5/10

The costume itself is pretty comfortable, the problem really lied in the heat, which was devastating. I had to change halfway through the first day, and though I made it through the second, it was still pretty torturous. I guess that's what happens when you wear velvet in 90 degree weather. Aside from that, the shoes were a bit uncomfortable after a while, but that's something that can't really be fixed.

Con Rating: 8/10

Enjoyment of the con is 9/10, but I must deduct a point for the poor programming. For one, they never keep their website updated, which is a major problem for people who don't have Twitter. Also, the paper schedule was rendered somewhat meaningless after a while due to scheduling conflicts, so if you didn't have the app (which we couldn't get due to iTunes problems,) you couldn't be updated on the goings on. This lead to us going to a panel that was very falsely advertised for nothing.

Even though it had a few problems, though, I really, really enjoyed myself, even if it was just to hang around with other Black Butler people (which, by the way, is very rewarding.)

Till the next time!


(P.S. If you took pictures with us at the con, comment here or on my DeviantArt page and I'll follow you! :D)

Sunday, June 7, 2015

Ciel: Photos Are Up!

It's done! Woohoo!

Check more of them out on my DeviantArt page (link in welcome bar)!

Happy AnimeNext!

Saturday, May 30, 2015

Ciel: Finished!

The (pretty much) finished costume!
The back.
Hi!

I am basically 95% done, so I thought I'd just post about that! Yay!

I am very, very happy with how it turned out!
In a few days I'll do a makeup test and post more pictures on my new DeviantArt page, which I'll link to here!

Happy AnimeNext!


Saturday, May 23, 2015

Ciel: The Coat So Far

The costume so far.


Hi!

So I thought I'd post how the coat is going, just to show how it will look roughly. It's mostly done, all we need to do now is the sleeves.

Most of the coat was pretty hit-or-miss in the pattern department, if I had to do it again, I'd probably modify a pre-existing pattern.

It's pretty hard to see the detail in the photo, but hopefully the "good camera" as we call it, will capture a bit more of those lovely details!

Monday, May 4, 2015

Ciel: The Pants

I'm not wearing the
black stockings in
this picture, but they
make the pants look
very professional :D

Hello!
As you can see, we have finished the pants, and I'm very pleased. We did kind of make a mistake buying fabric with no give, but it somehow works, so that's the most important thing! This is the first part of my costume to have been sewn by a machine (not including the mock-up of the coat.)

Also... I got the gloves and one of the rings (the other is coming sometime this month,) and I decorated the cane some time ago, but I just wanted to share this picture, because I like it. So there. :P

I'm thinking of doing more Ciel cosplays in the future. If I do it will probably be his blue casual outfit for a "Detective Ciel" cosplay.

That is all for today.
Oh, yeah, May the 4th be with you.

Thursday, April 23, 2015

Ciel: The Wig

Hi!

When I ordered the wig, I knew I would have to cut it because in the reviews section of Amazon, they all said it was too long. When I got the wig, it looked like this:

Cool, but more like Undertaker than Ciel.
Then I cut it. It was my first time cutting a wig. Actually, it was my first time cutting hair at all, but I am very happy with the result!

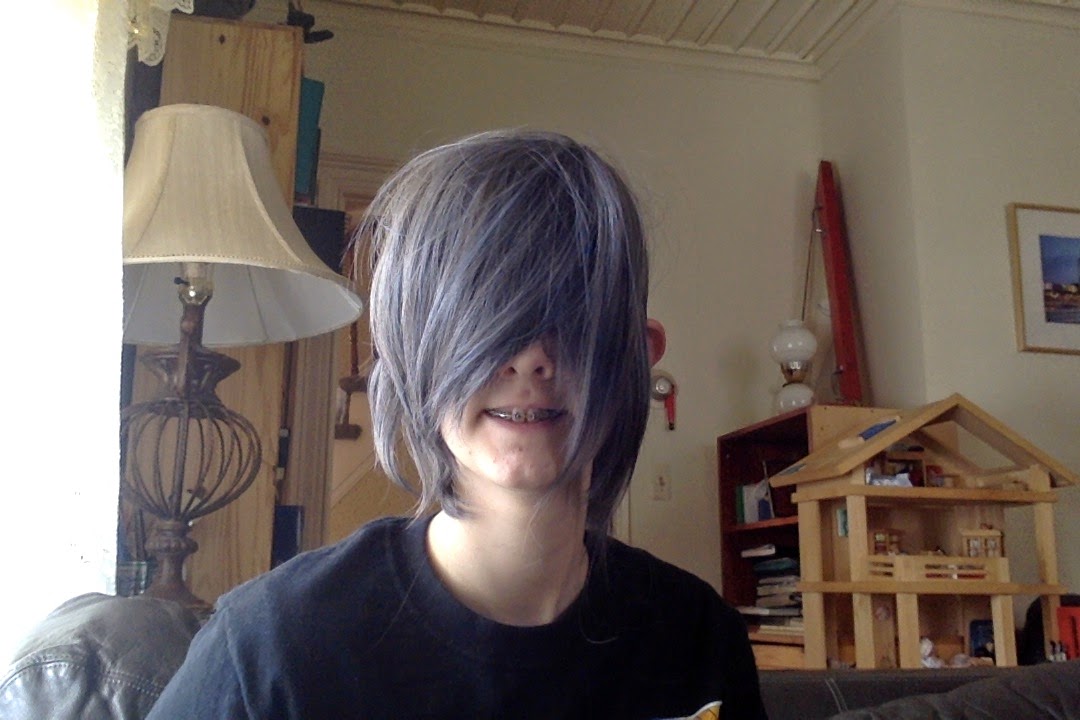
Me wearing the cut wig. (LOL you can see the hair on my shirt ehehehe)
I basically just grabbed sections of the hair, then cut with the scissors pointing up, to get that layered look. For cutting the back, I put it on a teapot as a form, because we don't have a foam wig stand.

Here is a picture of the wig with the hat on, the way it will be in the final costume:

Happy happy happy. Okay.
That's basically it for today. :D

Tuesday, April 21, 2015

Ciel: The Shirt

The shirt. 


Hi!

As you can see, I've finished the shirt, so now it just has to be sewn into the coat. The coat in the picture's actually the prototype for the coat, I'm just wearing it to show how the shirt will be framed. We haven't actually worked on the coat yet.

I actually made it by using a used tuxedo shirt that I found at my local thrift store (ever my friend), then hot-glueing lace trim onto it, instead of just buying a ruffled shirt. Which probably would have been more expensive, so I'm happy about the way it turned out.

Anyway, I also got the "earrings" (my ears aren't pierced, so I got fake gem stick-on things), and buttons for the coat.

Things are moving smoothly!

Friday, April 17, 2015

Ciel: Quick Update

Hi!

I've ordered the wig and rings, so they should be coming soon, and I just got this fabric for the coat:

Lovely blue fabric! Yay!

It's a bit darker than I wanted, and pretty stiff, but it's nice and velvety and will work nicely!
I've also worked a bit on the shirt, but it's not finished yet, so I'll post about that later! 

Aaaaand...That's basically it, I'll post more when some stuff is done, or when I get the wig (yay!) which I'll probably have to cut.

Anyway, bye!

Tuesday, March 24, 2015

Ciel: The Boots

The boots in all their glory.


Hi!

I got some black boots, and although they're not exactly what I was picturing (I wish I could have gotten lace-up boots,) they're still really cool!

I think they look pretty nice.

Soooo...

The Boots

What you'll need:

  • Black side-zip boots with visible heel
  • Thick blue ribbon (same ribbon as hat)
  • Thin blue ribbon in the color of the hat ribbon
  • Hot glue gun
So basically just hot-glue the thin ribbon to the shoes in a criss-cross pattern until you get to the top of the shoe, then cut about a foot and a half of thick ribbon, tie a bow, and then glue that over the ends of the thin ribbon on the shoe. 

Now you have some fancy boots. Hooray.

Me and my father have been working on a prototype for the jacket, but it's not finished quite yet. I'll post more on that when the prototype is done.

Thursday, January 8, 2015

Ciel: The Hat

Me wearing the finished hat. Looking pretty good, if I do say so myself. :)

Hi!

So I'm finally getting around to doing something on this costume. Me and my father worked a bit on the pattern for the coat but still need to fix some things, so I'll post about that later. We'll be going to AnimeNext this year, so I'm super excited that it's sooner!
Anyway, I made the hat.

The Hat

What you'll need:

The felt coverings pattern.
  • 3 sheets of black felt, I used one I got at Michael's that had a stamped pattern.
  • 1 cheap foam kids top hat, I also got this at Michael's.
  • Lining fabric, preferably in a bright color
  • Hot glue gun
  • Scissors
  • Colored Feathers
  • Ribbon


Okay, so first you take the top hat and the lining, which should be cut like the brim in the picture above, and glue the lining onto the top hat. Make sure the fabric doesn't pucker, mine unfortunately did! There should be a bit of fabric sticking out past the edges of the hat, fold that up over the brim and glue it there.
After you have the lining in, take the fabric for the brim and slide it over the cylinder part of the foam hat. It should fit snugly and cover the brim. Glue down the edges of the brim over the lining and then cut the excess fabric away from the hem. You should have a nice border of lining showing on the edges.
Next, take the "top" fabric and glue it on the top of the foam top hat. These edges should also overlap the actual top of the hat. Fold the edges down and glue them.
Now for the sides. A mistake I made was that I started with the front, when I didn't know how to glue it on properly, and now I have a big wrinkle in the front! Ah, well. 
I recommend slowly gluing the top edge over the "top" fabric, then gluing the side down. Do th same with the other side. My sides overlapped, and that is fine. In fact, it looks better.
Take the feathers and arrange them in a lovely fashion!
Then, measure around the hat and cut a piece of ribbon to that length. Glue the piece of ribbon to the hat and line the cut ends up with the feather (the bow will cover it later.)
Take another piece of ribbon (about 5 or 6 inches long,)fold it in half and glue it like that. It should look like a big loop. Glue that vertically over the severed ends of the hat ribbon. Then, take a 12-inch piece of ribbon, tie a small bow with it, cut the non-loop ends off, and then glue THAT horizontally on top of the loop on top of the ribbon on the hat (confusing, I know, but the picture helps a little hopefully.)

All together, my hat cost me $11.95, for those people out there wondering if just buying a hat is better :)

There you go! Your very own Ciel top hat!

Happy Halloween, and AnimeNext!